Using htmlPy to Make Front End GUIs with Python Bindings Pt. 1

htmlPy is a really great tool to make an awesome web or stand alone application. htmlPy is a wrapper around the famous PySide QtWebKit module, which enables you to make full blown GUIs using HTML/JSS/CSS and Python. When I first came across htmlPy, the documentation wasn’t very clear to me so I had to stumble around a little bit to get things figured out, and thought it would be nice if I wrote a tutorial showing everyone how to get it up and running. The ultimate goal of this tutorial is to build a nice GUI with Python backend bindings to interface with our Raspberry Pi!

A few things I love about htmlPy are:

  • It can be used with any Python module or webframe work like Conda, Django, and Flask.

  • It supports front end frameworks like Bootstrap and jQuery, so rapid prototyping is a breeze
  • HTML/JSS/CSS are easy, intuitive languages to make a great GUI in no time
  • It supports both Python 2 and 3
  • Since it is built on the Qt framework, your app is completely functional across all platforms

In this post, I’m going to show you how to get htmlPy up and running on your machine and build a stand alone app using a single HTML and Python file. In another post, we’ll get Bootsrap up and running so that you can start making your apps look even better.

htmlPy Installation

You’ll need the following dependencies to get htmlPy up and running:

  • Python 2 or 3 (I’ll be using 2.7.11)
  • pip for Windows / Homebrew & pip for Mac OS X (if you don’t already have these on your machine, you should)
  • PySide

On Mac OS X:

    brew install qt

after that, install PySide:

    pip install PySide

and lastly, install htmlPy (you may need to sudo this):

    pip install htmlPy

On Windows:

    pip install PySide

Now that we have all of the dependencies installed, we can dive into making our first application.

Make a new folder where you want your project to be; I named mine ‘site’. htmlPy looks for an index.html file to be in same directory as the Python script you will execute to run your app. Go ahead and make your index.html file and place:

<h1>Hello, World</h1>
<p>I'm using htmlPy! Pretty neat stuff!</p>

There are two types of applications that htmlPy can make: a standalone application, which we’ll be making here, and a web based application.

To make a standalone application, create a new Python file name main.py and place it in the same directory as index.html.

    import htmlPy
    import os
    
    app = htmlPy.AppGUI(title=u"htmlPy Quickstart", maximized=True)
    
    app.template_path = os.path.abspath(".")
    app.static_path = os.path.abspath(".")
    
    app.template = ("index.html", {"username": "htmlPy_user"})
    
    app.start()

This code instantiates a new application called ‘app’, uses Jinja2 to render ‘index.html’, and starts the app. If you don’t have Jinja2 installed, just type (you guessed it):

$ pip install jinja2

Now open your terminal and navigate to the directory where you have your project saving to and run main.py

python main.py

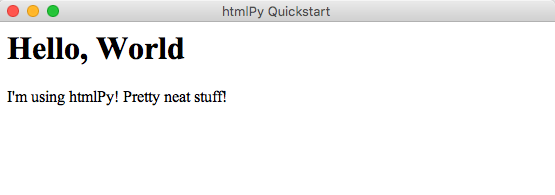
And you’ll see…

That’s pretty cool right? You’ve successfully created your very first stand-alone Python app using nothing more than a couple of lines of code. Let’s add a button to our demo app.

<!DOCTYPE html>
<html>
<body>
<h1>Hello, World!</h1>
<p>I'm using htmlPy! Pretty neat stuff!
<br>
<button type="button" onclick="alert('Hello world!')">Click Me!</button>
</p>
</body>
</html>
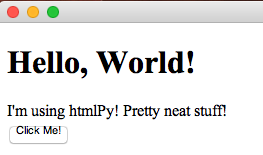
By now you should see that whatever HTML you place in Index.html will be placed in your app. In the next part of this tutorial, I’ll show you how we can install Bootstrap and add Python backend bindings to do things!

Till next time. -Adam
Texans Take Yosemite

Yosemite National Park 2016

Recently two more college friends, Jan and Czarina, have transplanted into the Bay Area for work. Even though I’m meeting some great people and making all kinds of new friends here in the Bay, it’s been really nice having some fellow Texans around. They make me feel a little bit more at home; no one here understands how good Whataburger is at 3AM, or what real BBQ tastes like, or knows that there are different types of beer out there other than IPAs! That’s a little bit of sarcasm, but there is definitely truth behind it.

This past weekend one of our fellow Longhorns, JR, flew into town due to a ridiculously affordable round trip ticket from Southwest ($100!), and asked if we wanted to go camping in Yosemite. If you read my Personal Goals post, you’ll know that I’ve been wanting to travel a lot more this year, so I jumped at the opportunity to go. I hit up Sports Basement, and immediately walked out because who in their right mind pays $300 for a sleeping bag?? Jan ended up renting our gear from a great little spot for cheap.

Growing up in Texas, I had never really seen actual mountains; the closest thing I’d ever really seen was the hill country in Austin. Not to detract from Austin, but as we drove into the Sierras, I was amazed by the sheer size of everything surrounding us. We drove past a sign that informed us we were about 6,000 feet in elevation; over a mile above San Francisco, which is only 52 ft above sea level! This was also my first time driving on winding mountain roads, and seeing that there weren’t many guard rails around made me a little uneasy at time…not to mention going around blind corners/hills.

Bridalveil Falls; Slippery When Wet All the Time

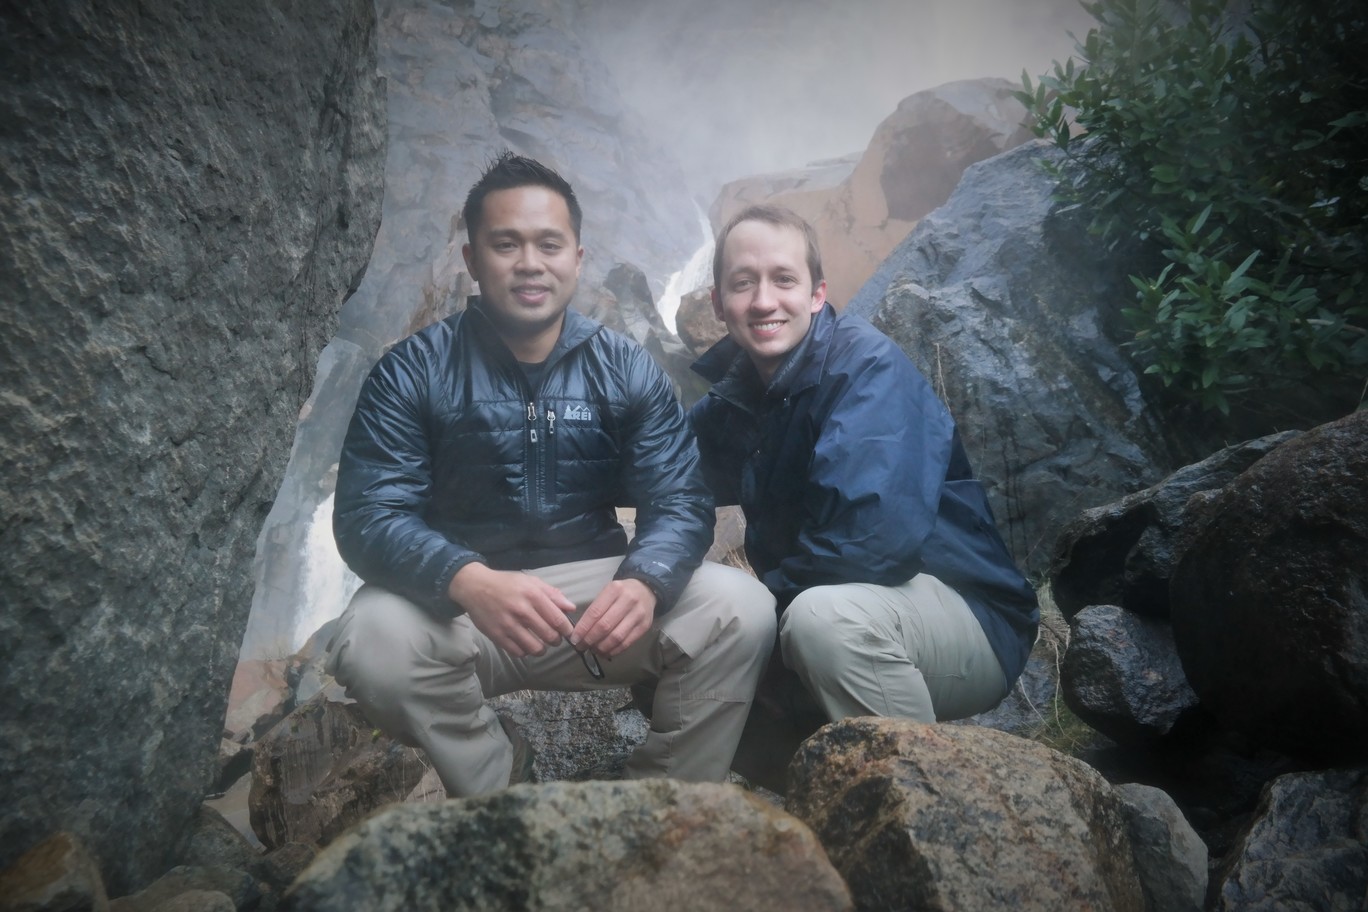
Once we got into the park (for free thanks to JR being an American Hero with his active military ID), we made our first stop at the Bridalveil Falls. The park has a nice little platform where you can stand and safely take some photos of the falls, but we decided to hike in to get a better look. The rocks were pretty slippery, but the views were well worth the careful trek up toward the falls.

Bridalveil Falls
Bridalveil Panoramic

We had some lunch and eventually got a camp spot in Park 4, an area where you just setup a tent where you can find some open ground. With our tent pitched, sleeping bags unpacked and set up, Camp Booger (dubbed by Czarina) was broken in with an inagural 30 minute nap before hitting the trails.

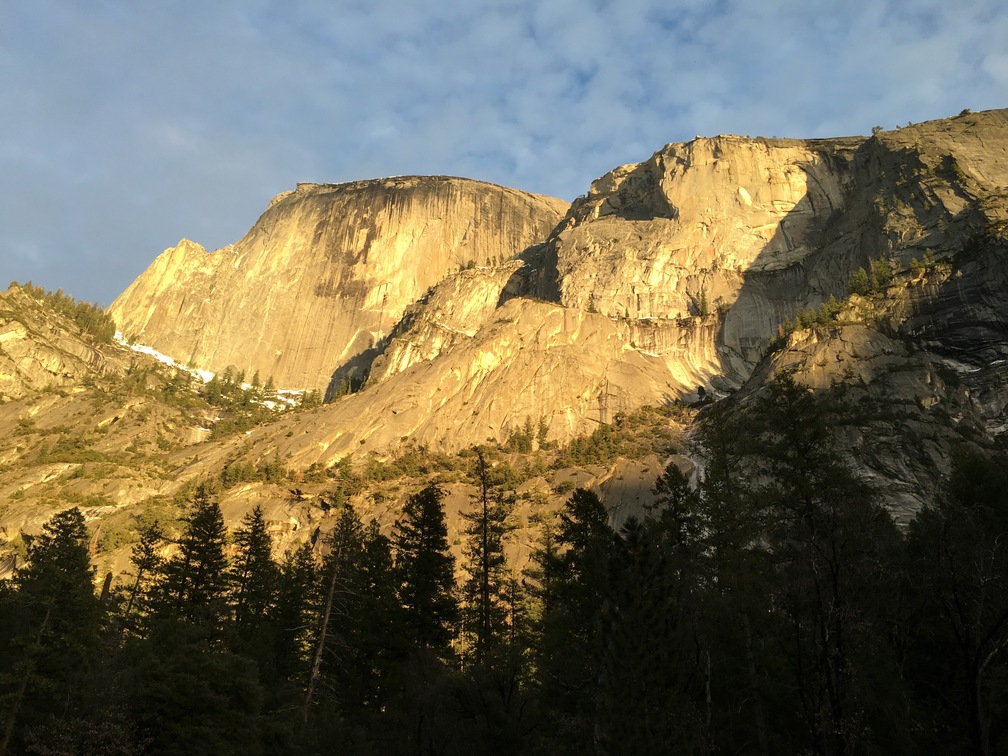
Two hours later (oops), we decided to look at what hike to do. The best ones were closed due to ice, so we decided to hike the Mirror Lake trail before the sun went down to get a nice view of Half Dome. When the water on the lake is calm and not moving, you can see a perfect reflection of Half Dome on the surface of the lake. Unfortunately, the water was moving pretty quickly on our visit, and Mirror Lake wasn’t so mirror-y. No worries though, because…

Half Dome Didn't Disappoint

With the peak of Half Dome at 8,839 feet, and Mirror Lake at 4,098, it is ~0.9 miles above your head!

You really should view these photos on a big screen to appreciate the beauty! These photos were taken with my iPhone 6S, and I was very pleased with the results. I couldn’t help but awe at the power of Mother Nature to have formed these amazing mountains and rock formations; it really is a sight to behold.

Panoramic of Half Dome
Sunset on Half Dome

We got some amazing pictures while at Mirror Lake, and just took our time to soak in the view. These photos don’t do the majesty and sheer size of the area justice; you really have to go experience it all for yourself. We decided to head back up the trail while we still had a little bit of sun light left as to not hike in the dark. We got back to camp, drove to the park store (which has literally everything you could possibly want/need) and grabbed some steaks, potatoes, whiskey, Buzzballs, s’mores kit and some firewood. After cooking dinner and enjoying the night by the fire with whiskey and s’mores, we all turned in and went to sleep.

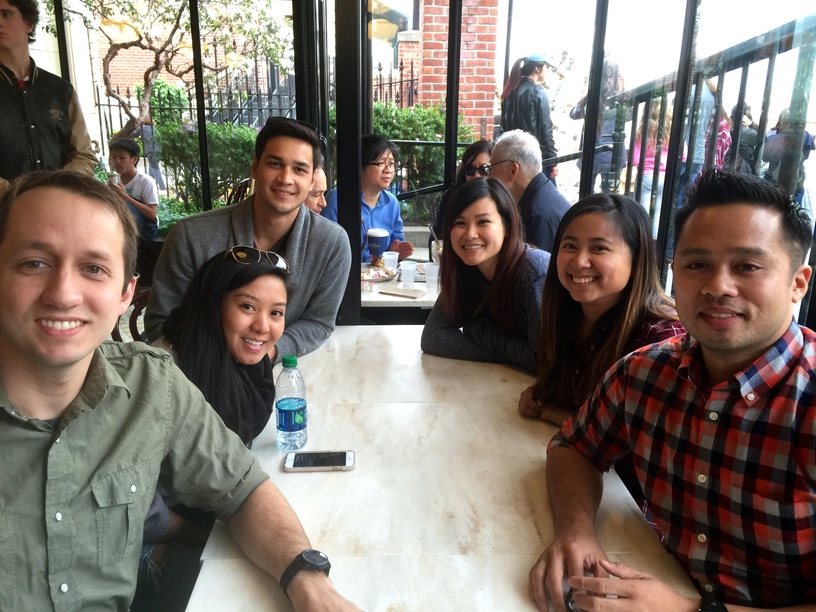
In the morning, we woke up, tore down camp, grabbed some breakfast and headed back to the City to shower, get changed and meet another Texan who flew in with her boyfriend to visit/interview to move out here from New York. We met up at Ghirardelli Square for some hot cocoa and hung out for a bit.

No More Marshmallows...

Enjoying some hot cocoa and Ghirardelli Square

It was so refreshing to have this little weekend getaway with old friends. It really let me clear my mind of everything going on in my own life back home, and let me just enjoy being the moment for the first time in a very long time. Life out here seems to be much faster paced than it was back home in Texas, which is a good and bad thing. I hope I can make more trips like this with friends, both new and old, soon! And with more Texans moving into the Bay Area, that seems more likely now than not.

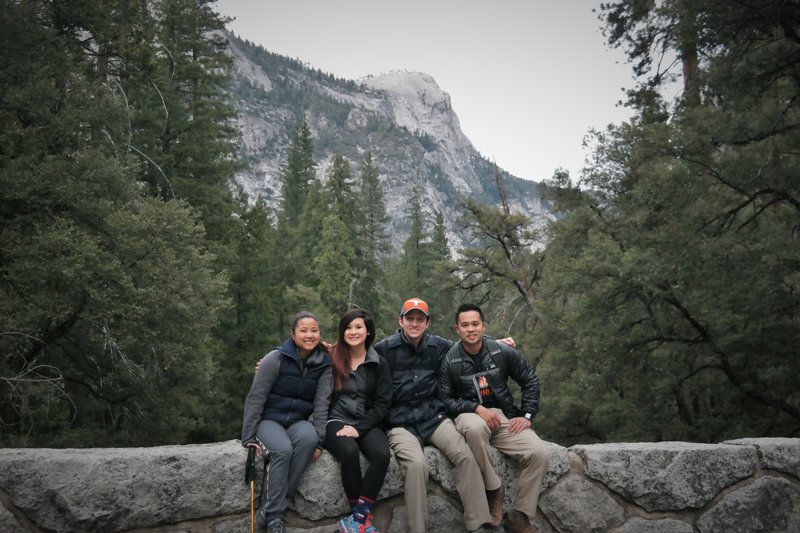
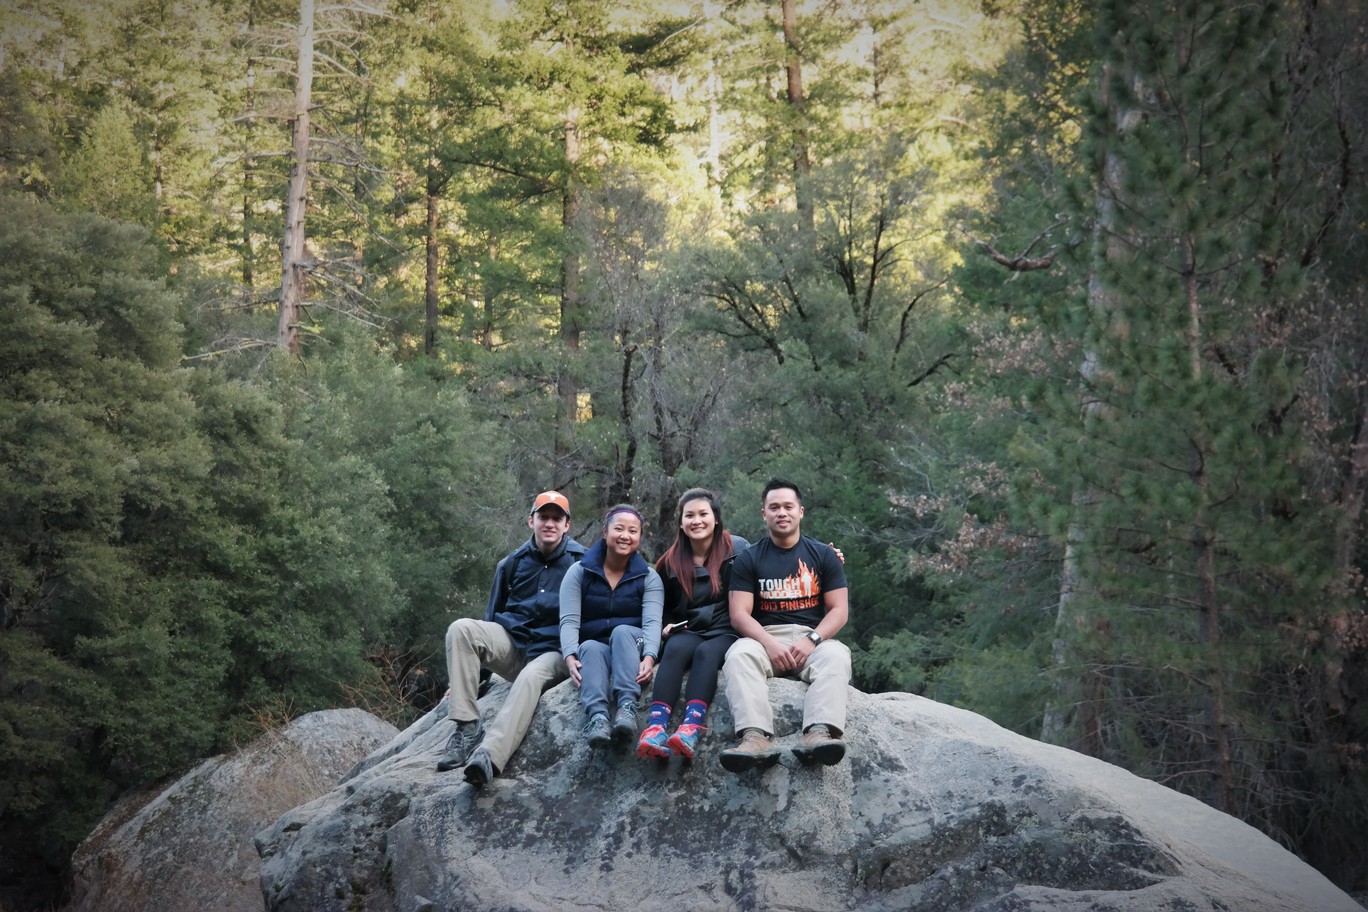
JR(left) and Me(right) Group Photo Another Group Photo
Yosemite 2016
Personal Goals for 2016

This year I really want to focus on my own personal and professional growth. I’ve always said that as soon as you feel comfortable in your professional life, you stop growing and its time to do/learn something more. My good friend and life coach/professional mentor, Jide, taught me that in your professional life, its all about the value you bring to the table. If you ever stop increasing your value, you’re only harming yourself and someone else is working longer, harder, more efficiently than you are.

These are the people who will ultimately be successful, and you’ll wonder ‘why don’t I have that?’.Over the last 3 years, I’ve come to realize how absolutely true that statement is.

Below is a list of things that I want to do this year. These aren’t New Year’s Resolutions, because everyone makes those and then forgets about them. I want to do everything on this list for the betterment of myself, my future, and for the sake of always learning something new.

My goals for 2016 are:

  1. Make a website to force myself to document my work/life
  2. Learn Python, Java, and whatever else seems like a natural progression.
  3. Beef up my Github and contribute to open source projects
  4. Put a hardware project on Kickstarter
  5. Attend a Hack-a-thon
  6. Get back into shape
  7. Vlog
  8. Travel!
  9. Be an all around better person

To address most of the above, I’ve pretty much submersed myself in MOOCs through:

In my opinion, Udemy is the worst of the three. Most of their courses are not free, and the special bundles that they have are often for courses that are several years old containing outdated content with lots of deprecated functions and syntax. I appreciate the quality and quantity of their courses, but I’m not about dropping $50+ on something I can find on Google for free.

I’m currently taking a CompSci course from MIT and a power electronics series from University of Colorado on edx that are both really great, and are available for free. The courses I’m taking all have video lectures complete with subtitles, homework/quizzes/tests, discussion boards, progress page with all of your grades, and direct lines of communication to TAs if you ever need/want help.

The more and more I learn about software, the more interested I am in it. Being able to immediately see the results of your work, unlike hardware design, is very satisfying. I intend on keeping up with my MOOC courses to learn more about software engineering and fun challenge sites like HackerRank. Who knows, maybe even end up with a software position sometime in the future.

If you’re interested in learning about pretty much whatever you can think of, head over there and give them a look.

My Github
hello world

I really want to begin documenting my life, goals, work, and memories through YouTube and blogging. I’ve been wanting to make a tech blog for quite some time, but never really made a conscious effort to. That, or I would try to pick up web development, read a bit into something like Ruby on Rails, get lost, and stop caring or get busy doing something else. This blog is my attempt to rectify that, and what better a place to do it than Github pages?! I can host my own site, store my code/PCBs with version control, and pay absolutely nothing all in one place? Its the perfect solution to my needs, and Jekyll is a joy to use.

I’m an electrical engineer and techie at heart. I love designing hardware and PCBs, and dabbling in software to bring things to life. I am always trying to learn something new to build cool hardware and software applications.

My areas of interest, and thus the focus of this blog, are:

  • Hardware/electronics design engineering
    • Power electronics
    • Embedded systems
    • PCB design
    • Low voltage systems
    • Hacks with Arduino/Raspberry Pi
  • Software engineering
    • Python
    • Algorithms
    • Interfacing with hardware
    • Data science
  • Tutorials (with Github!!)
  • Collaboration (start ups etc.)
  • Whatever I feel like

But first, a little bit about myself. I’m an electrical engineer in the San Francisco Bay Area working for Tesla Motors. Having moved recently, I’m loving life out in the Bay. The weather is a significant improvement over Texas, and the fact that I can go hiking, surfing, AND skiing in the same day blows my mind. Public transportation that is actually worth a damn is a revelation in my life. The views are unlike anything I’ve ever seen, and to be able to walk around in Facebook/Google/Apple headquarters is awesome and inspiring. There’s an entrepreneurial energy here that is definitely absent from Houston. It feels like if you have an idea, you can find people to help you work on it and maybe make it come to fruition.

That’s not to say the Bay Area isn’t without its faults. Here are a few things that I’ve noticed:

  1. Rent is outrageous. Seriously, a piece of shit in San Francisco is at least $2300. You wonder why everywhere here makes >$100,000? Its because of the cost of living.
  2. Having a car if you’re in the city or Oakland is an expensive pain, and parking is a nightmare. If you’re lucky enough to have a complex that comes with a parking spot, you’ll pay between $100-300/mo for it, or you’re gonna have to find street parking. Speaking of parking…
  3. The San Francisco Municipal Transportation Agency is evil. Deciphering the plethora of signage in some areas of the city is unnecessarily complicated. Coming from a city that never had street sweeping, it is a huge pain. Where I am in Oakland, the streets are offset so that streets in one direction only allow parking Mon/Weds/Fri and the perpendicular streets are Tues/Thurs with street sweeping between the hours of 3-5am. What this means is if you don’t have a parking spot, you need to move your car every single day to a different spot, or be ticket $66.
  4. State tax. Enough said.

All in all, I’m really liking this huge change in my life. California is ‘hella’ cool.

Hardware Engineering - adam wheeler